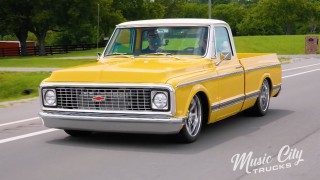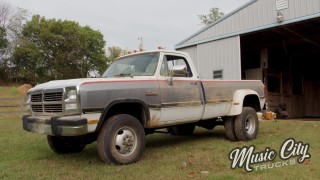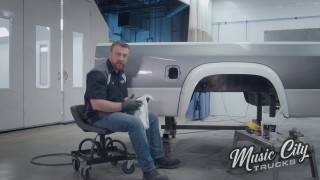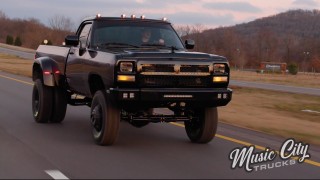
One-ton, Two-tone Transformation
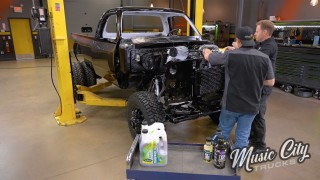
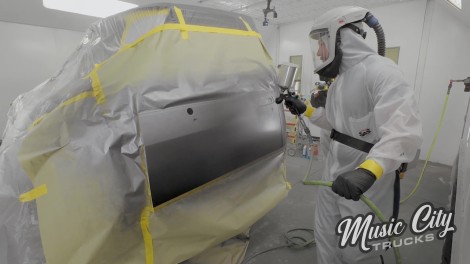
Get your brushes ready because our Dodge Diesel Dually, Nightshift, is turning to the dark side. Watch as we update the stock paint from plain Jane to mean machine and help turn this dream work truck into the working man's dream truck.
Season 4
Episode 10
Hosts: Eric Smart, Joel McMillan
First Air Date: September 9, 2024
Duration: 21 minutes 27 seconds