Prime Time Axle Folly
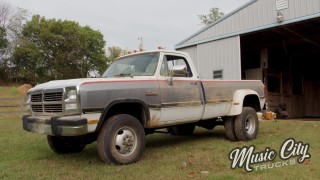
It’s prime time! Our Dodge Dually, Project Nightshift, will shed its skin today as we buzz off all the imperfections and repair the bumps and bruises you’d expect to find on a 31-year-old diesel truck. And if you’re a true gearhead, get ready for a deep dive on how to calculate for your rear axle regear.
Season 4
Episode 9
Hosts: Eric Smart, Joel McMillan
First Air Date: August 12, 2024
Duration: 21 minutes 27 seconds