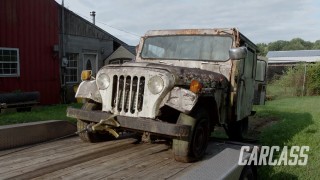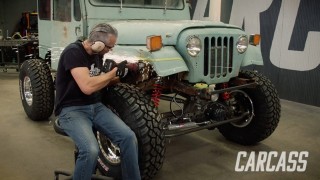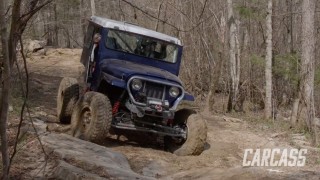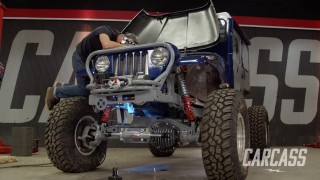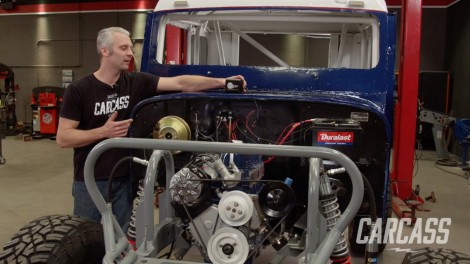
Firing Up The JunkMail Jeep For The First Time
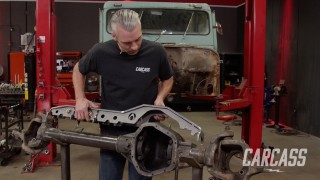
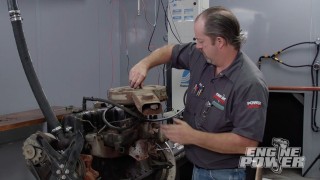
We start the final push getting Junk Mail one step closer to the trail. We tackle our wiring, plumb up our cooling and fuel systems. Then, we fabricate our exhaust before firing the '78 Postal Jeep up for the first time.
Season 2
Episode 9
Hosts: Jeremy Weckman, Jimmy King
First Air Date: August 10, 2021
Duration: 21 minutes 35 seconds