Track Killing Bimmer – Project UnSanctioned Part 1
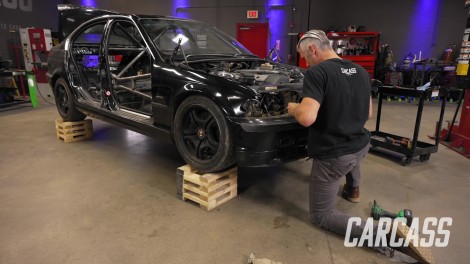
The Carcass Crew brings in a 2001 ragged out BMW 4 door sedan, with plans of turning it into a mix-use race machine.
Season 5
Episode 9
Hosts: Jeremy Weckman, Jimmy King
First Air Date: August 12, 2024
Duration: 21 minutes 27 seconds