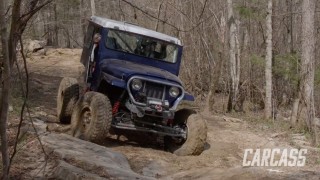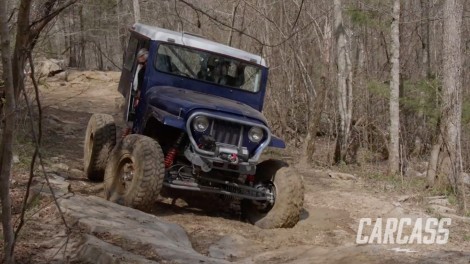
Can The Junk Mail Jeep Deliver On The Trails?
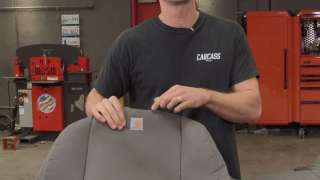
Junk Mail our '78 Postal Jeep gets the interior buttoned up adding shifters and seats. Then we hit the trails to flex out Junk Mail on the rocks putting all our hard work to test.
Season 2
Episode 10
Hosts: Jeremy Weckman, Jimmy King
First Air Date: August 17, 2021
Duration: 21 minutes 35 seconds