EFI Swap Lets Junk Mail DJ5 Conquer the Trails
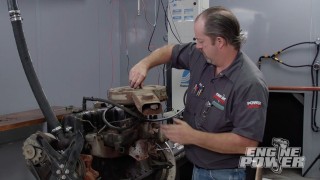
We bring Project Junk Mail back into the shop to address some trail problems. We upgrade our carburetor for a EFI system giving us better performance on steep terrain, plus we give our steering a boost before heading back out on the trails.
Season 2
Episode 17
Hosts: Jeremy Weckman, Jimmy King
First Air Date: September 14, 2021
Duration: 21 minutes 35 seconds