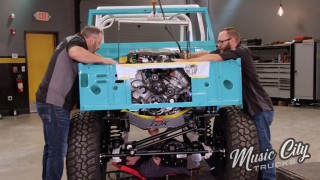
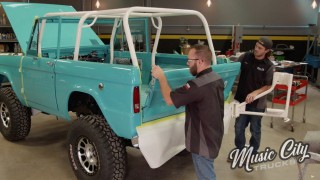
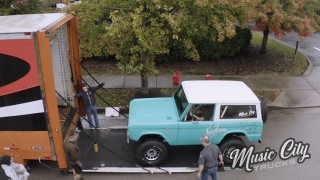
1974 Beach Cruiser Bronco Is Ready To Roll
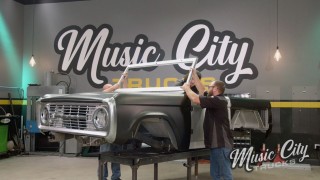
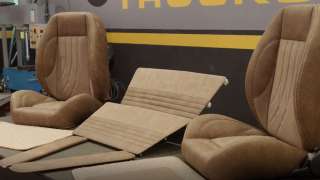
Today we finish the final assembly of our 1974 Beach Cruiser Bronco with the installation of the interior.
Season 1
Episode 18
Hosts: Brandon Burke, Marc Christ
First Air Date: November 13, 2021
Duration: 21 minutes 35 seconds