Nissan Trailgater Part 1
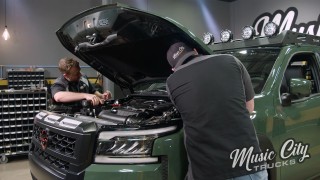
We’re stepping out of our comfort zone and building the ultimate dual-purpose pickup, a 2025 Nissan Frontier that we’ve nicknamed Trailgater. Eric and Joel modify a brand-new Nissan and turn it into the ultimate tailgating truck that would make any sports fan or overlander envious and excited.
Season 4
Episode 12
Hosts: Eric Smart, Joel McMillan
First Air Date: October 14, 2024
Duration: 21 minutes 26 seconds