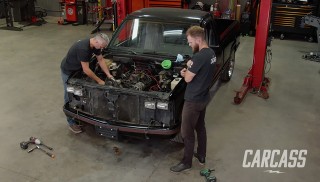
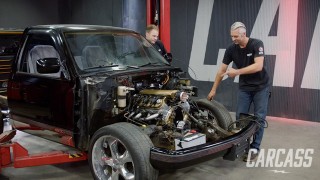
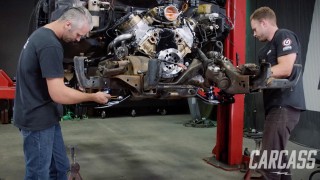
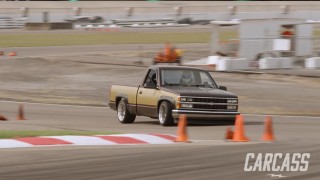
Our '89 OBS Chevy Sports Truck Gets a Custom Oval Track Rear Suspension
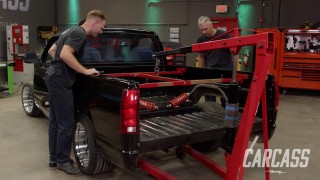
We take a 1989 OBS Chevy C1500 and fabricate truck bed to fit our new custom Oval track rear suspension. Then we head to the paint booth to add a classic paint job.
Season 2
Episode 21
Hosts: Jeremy Weckman, Jimmy King
First Air Date: October 26, 2021
Duration: 21 minutes 35 seconds