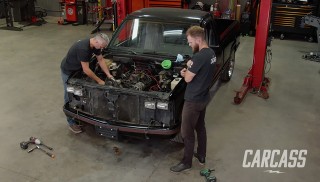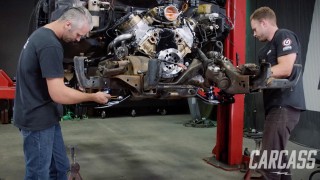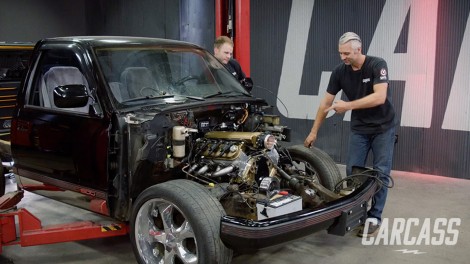
1989 OBS Chevy C1500 Gets a Track-Ready LS Heart Upgrade
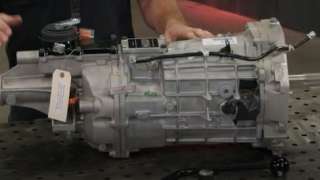
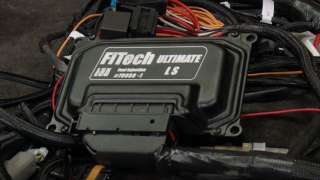
Our 1989 OBS Chevy C1500 truck gets a new heartbeat. We drop in the LS that Engine Power built plus add a new performance clutch, transmission, and custom exhaust.
Season 2
Episode 19
Hosts: Jeremy Weckman, Jimmy King
First Air Date: September 28, 2021
Duration: 21 minutes 35 seconds