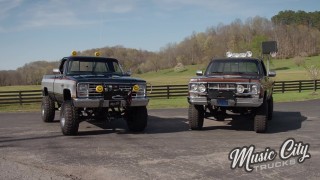
Faux Guy Square Body Screams '80s With Chrome Wagon Wheels
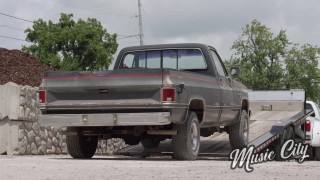
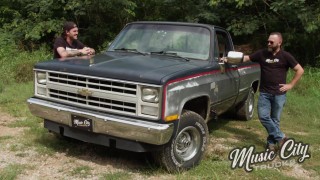
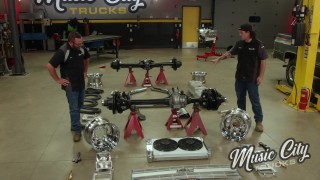
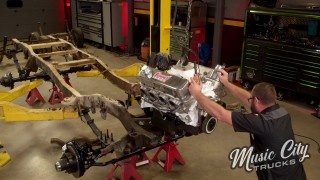
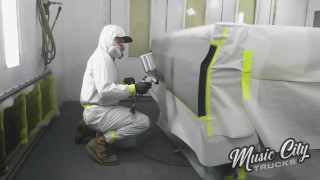
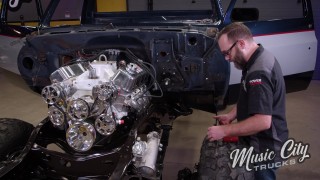
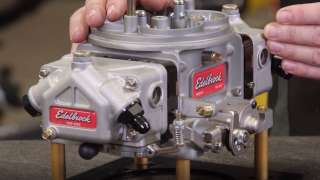
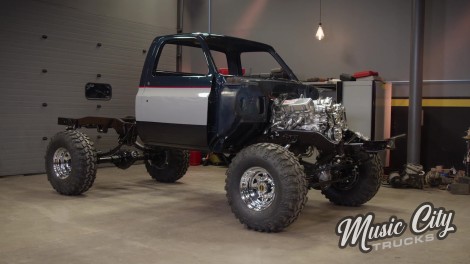
The frame work for our 1985 Chevy K-10 is being blasted and painted. We add a new fuel system and assemble it all back together. We get this K-10 chassis on a new set of wheels and tires and add our freshly painted cab.
Season 3
Episode 3
Hosts: Brandon Burke, Marc Christ, Michael Huxley
First Air Date: February 20, 2023
Duration: 21 minutes 27 seconds