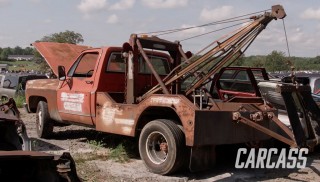
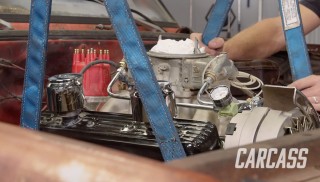
Dropping A 350 Chevy Into The Junkyard Square Body
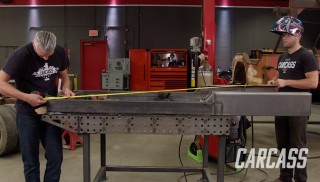
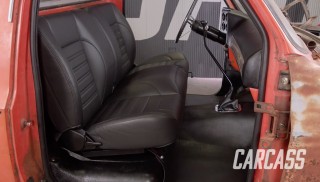
We pump up the power on our Junkyard Find Tow Truck. Plus a rusted-out floor in the cab has made it a danger to drive.
Season 2
Episode 3
Hosts: Jeremy Weckman, Jimmy King
First Air Date: February 11, 2021
Duration: 21 minutes 35 seconds