Packing 450 Horses in Our Drift Trailblazer SS
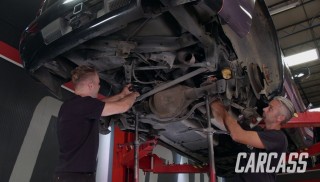
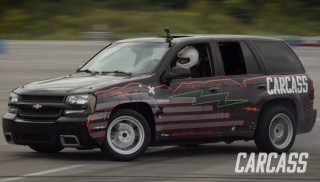
The Drifting Trailblazer gets more muscle under the hood, and the exterior gets a new drift car look.
Season 1
Episode 11
Hosts: Jeremy Weckman, Jimmy King
First Air Date: September 29, 2020
Duration: 21 minutes 35 seconds