More '69 International Scout 4x4 Episodes

Xtreme 4x4 Builds

Parts Used In This Episode

Bushwacker
Cut-Out Flares fits '66-'77 Ford Bronco, '62-'81 Toyota Landcruiser.
CTEK Power Inc.
The D250S is a fully automatic battery charger for both solar cell and generator for 12V batteries.At the same time,it can seperate starter and consumer batteries in a multi-battery system.
CTM Racing Products
Dana 44 CTM U-Joints
Daystar Products International, Inc.
Daystar Products now offers a simple and economical way to upgrade a standard winch roller fairlead to work.
IH Only North
2.5" wide leaf springs for the front.
IH Only North
Front disc brake conversion package.
Master-Pull LLC
Master-Pull Winch Accessory Kit.
Master-Pull LLC
Winch Rope M-P Superline XD 5/16" X 100' 21,000lb. w/ H-D sling hook.
O'Reilly Auto Parts
Stock replacement brake calipers
Power Tank
Power Tank air system with ARB Connection Kit.
Ready Welder Coporation
Ready Welder II Case Includes : RWII High-Impact MIG Gun, Ten Feet of Cable, One Spool of Flux Core Wire, 300 Amp Ground Clamp, Two Battery Clamp, Extra Tips and Gas Hose Fitting, Ten Extra Feet of Gas Hose, Foam Lined Blow-Molded Tough Briefcase, AC to DC Power Converter, Supply to Drive Gun Controls When Connected to a CC Power Source.
Ruffstuff Specialties
Optima Battery Box, Dual, Lengthwise.
Rusty's Off Road
Coil springs - TJ 3" Rear.
Rusty's Off Road
Rear Trail Bumper - TJ
Summit Racing
Fuel Cell, Plastic, Black, 16 Gallons.
Warn Industries
Service kit for winch brake, solenoids and cables, solenoid cover with plug for the M8274-50 model winch.
Video Transcript

Hey, when we make a mistake, we'll be the first to tell you

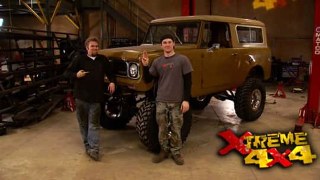
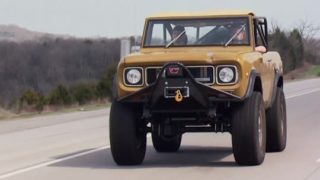
today on Xtreme 4x4, the scout is back, but it's sitting too high. We'll bring it down to earth with some smaller springs, plus custom brakes, bumpers and more.

Can't find an exhaust system for your truck. We'll show you how to build that too. Let's do it

when you've been around as long as we have here at Xtreme 4x4 every now and then you wonder are the trucks you're putting together? Do they make sense to you guys at home? The guys tuned in every weekend?

Yeah, sure. You send us emails and messages to let us know what you like and what you don't like and don't get me wrong. We still have a ton of project ideas rattling around in our heads and a couple of off road trucks. We're still dreaming of building

every now and again, you touch on a project where the popularity honestly surprises you.

We knew that we had to build a scout. The owners are fiercely loyal to their brand and the trucks. Well, honestly, they just look cool,

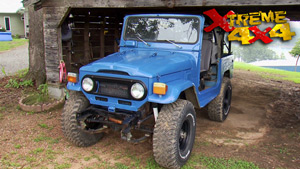
but we had no idea when we picked up a small 800 A that it would easily become one of our most popular projects

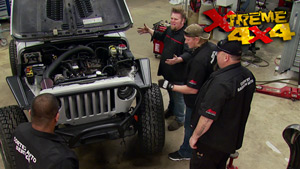
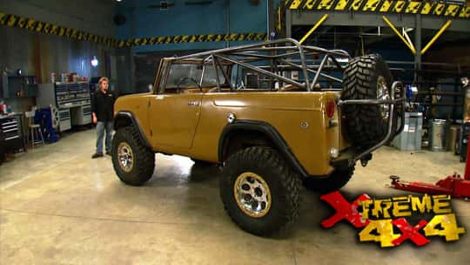
that little scout has generated more buzz in the off road world than pretty much anything else we've built so far. So we thought what better way to kick off the ear than to bring it back into the shop for a pile of work. And we have a lot planned. We're going to take care of the exhaust on the truck, swap out some springs to lower the center of gravity, even upgrade our front brakes. We'll take care of our fuel system for our 345 and even throw in a few parts that'll make it easier

when we're on the trail.

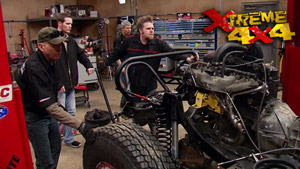
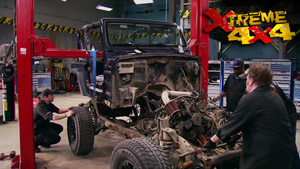
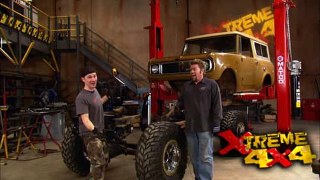
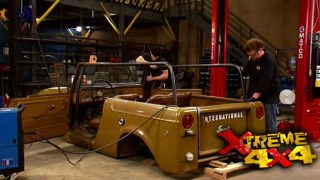
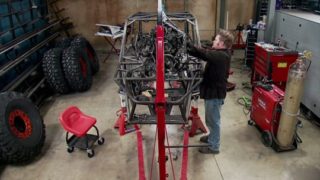
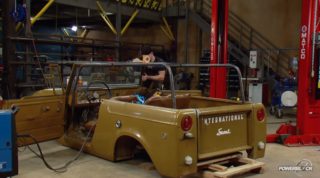
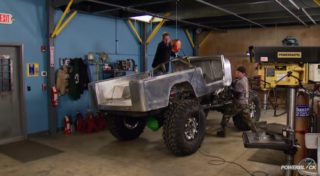
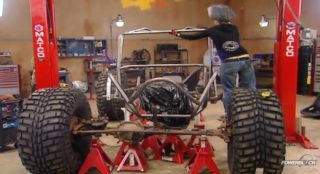
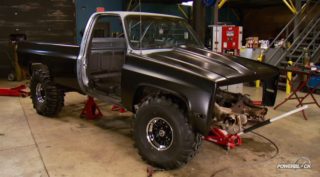
We're pulling the body back off the frame just to make some of the work we're going to do today a little bit easier.

The first order of business is going to be to lower our center of gravity.

We originally installed a set of four inch lift springs on the front of our scout when we performed our spring over axle

and when we got it all back together,

we noticed the truck just sat a little bit too high for our liking. So we're gonna lower it down

in the front. We're installing a set of lower lift leaf springs that we got from. Ih, only north now in the rear. If you remember when we set up our four L,

we used a set of TJ five inch lift springs we got from Rusty's off road. Simple solution there. Rusty sent us the lower three inch lift springs and all we have to do is swap them in. The truck will drop down about 34 inches to be a lot more stable when it's on the trail.

While we have the front tires and wheels off, we'll finish up our front axle with a disc brake conversion kit from IH only North along with CTMU joints in our Cro

Molly

axle.

Now,

the brake kit uses all new GM parts along with a set of premium free wheeling hubs.

This will not only improve our braking but the internal free wheeling hubs along with the cro moy

axle and CTMU joints will help keep our front end together. When we're wheeling and off road,

the fuel tank in the 800 is located right in front of the rear tire. It was a small six gallon tank and the V8 8 hundreds from the factory would have two of these one on either side with a splitter in between to feed the larger motor. Now, we don't want the fuel tank right here because we know we're gonna have to trim this

for clearance because we've lowered the vehicle's center of gravity. So we're going to relocate the tank and we're gonna be using a plastic fuel cell that we got from summit racing. We're gonna be mounting this 16 gallon fuel cell right up underneath the floor now to fill it, we'll fill it from the inside. We'll cut a hole in the floor and install one of these chrome

gas tank tours.

We wanted to get as much of our frame put together before we started on our exhaust. Make sure we had clearance around, things like our transfer case

and our fuel tank. Trust me, this is a lot easier without a body on the frame because you can actually work from the top down. Now, don't be surprised when you're doing exhaust on a four by four and you have to do what we did here, run it underneath the motor to do a two into one exhaust,

clear your front output on your transfer case. And that's not a bad thing because two into one exhaust systems have a tendency to have a torque curve that turns on lower in the RPM band and that'll work great in an off road truck. Now, the kit that we used is a Magna flow universal two and a quarter inch full stainless hot rod kit comes with all these little bends that you just cut and tack together to get around parts of your chassis. It flows in to one of their magna flow, full polish fully welded flow through stainless steel mufflers. And for a tip, we just cut one of the 45 pieces off at a little bit of an angle. Now, it's all just tacked into place right now. It's not welded. That's because we want to roll the frame back underneath the body, lower it down, check to make sure we don't have any clearance issues. If it looks good, we'll drop it out the bottom at

the 02 sensor and weld it all up.

Is that all off?

Keep going. I'll hold it.

Ok.

Oh, is not

go?

Oh, I'm sorry.

Here

you go first. No, I got it. Now.

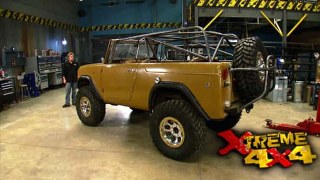
Now with the body back on the frame, we've checked the exhaust and everything is good. And you can see with the new springs on here, we've lowered the ride height of our scout considerably. The truck is a lot lower. It's going to be a lot more stable. We're out on the trails, which is important considering this truck is so narrow. But we do have a new problem and the new problem is right here at the back of the tire with the truck lowered down the back of this wheel. Well, opening is really close to our 37 inch tall tire. What that means is when the suspension compresses, it will possibly tear into the body, damaging it and worse damaging the tire. Now, the repair for that is actually pretty simple. We're gonna be installing a set of bushwhacker cut out style fender flares, they simply screw onto the body and then you mark the body and cut away the extra sheet metal and you can see it'll give us a lot of extra room for that tire.

Now, these bushwhacker flares are not for a scout 800 A, they don't make a set for that model of truck. They're for another truck with a similar body style that Scout guys hate getting compared to. And I'm sorry, but they fit quite well and they're for an early Bronco

and they're going on anyway because they look cool,

nice clearance

Bronco. I mean, scout.

He's kidding.

Right

up next. More stuff for your truck on the cheap. Why buy a bumper when you can make one yourself? Stay tuned.

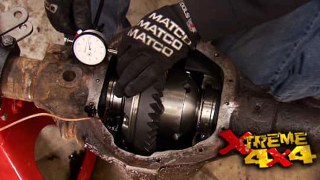
I'm sure a lot of you guys recognize this classic Warren 8274 which we recently took you guys step by step through the procedure of rebuilding this exact winch to show you guys how to save money by rebuilding a part instead of replacing it. And we thought what better project to mount it up to than our classic Scout 800 A now at the same time when it comes to this truck every now and then when I had to slow things down. Take you guys step, step through certain procedures. We did it when we installed our A

B air locker in our data 44 front axle. And we also did it with our 700 R four automatic transmission. Well, right now, we're going to do with a little bit of custom fab work. We're going to show you guys how to build a complete set of custom bumpers from the design to the construction. We'll do a two bumper in the front with a winch mount out back. We'll do a plate bumper with a spare tire carrier.

When it comes to custom bumpers for your project, you have a bunch of different options. You can build a bumper from scratch. You can modify your existing bumper or you can often buy a 100% custom aftermarket bumper just to bolt onto your project. Good example of that is this rear TJ bumper that we got from Rusty's off road. You can order one of these up bolt it on your Jeep. You'll have good body protection as well as a built in receiver hitch. But when you have an oddball truck, like our scout, chances of finding

an off the shelf bumper are slim to none. So you're more than likely gonna be building your own. Now, on our front bumper, we're gonna be building a tube bumper with a winch map. The material we're gonna be using is inch and 58 dom tubing and you don't need to use dom. You can use the welded seam tubing. It'll work fine in a bumper. But where you don't want to skimp is on your flat plate and your winch manufacturer will give you a specific thickness of plate that the winch has to be mounted to. If you skimp on this thickness to save money or wait, you could be pulling your truck up a steep hill. The plate of F

and the witch is gonna fly all the way up to the top of the hill. Your truck unfortunately is going to roll all the way to the bottom. So don't use this as an area to save money. Use the right parts. Now, on the back of our truck, we're gonna be using this TJ bumper. It fits the back of the truck pretty good, but we're going to modify this to include a spare tire carrier. The first thing we need to do is determine the location of our front winch.
That

now our bumper design right here is perfect for the middle of our scout, but we don't have any protection for this outside corner right here. And what we'll do is we'll run some tube out here. So if a rock does come in, it's not gonna contact this fender, it'll hit the bumper and then roll up on the tire and then all we have to do is cut out all of our cardboard pieces, we'll tack the entire bumper together, test fit the wedge and then finish welding.
And the last step is to pre fit the winch while the bumper is all tacked together. Now, here's a tip here. If you have a synthetic rope on your winch like we do, you don't want to do any welding or attacking with the winch in place, sparks from the welds or the tack welds can actually land on the nylon rope burn through it and then it will fade.

Also when you weld your bumper, weld the backside first, then weld the front side and you can grind it nice and smooth that way, it'll look really good and you will still have the strength because the weld on the backside hasn't been ground down. Obviously, here, we'll pull the winch out. Now weld this bumper all up, give it a coat of paint.

And after that, Ian goes to the rear

with an innovative solution for a bumper, spare tire carrier combo. Keep it right here.

Welcome back to Xtreme 4x4. Right now. We're taking you guys step by step through the procedure of building a couple of custom bumpers up front on our scout, we did a 100% fabricated winch bumper and on the back, we're gonna modify an existing bumper to mount a spare tire. Now, this is a Rusty's rear T J bumper that we're going to modify to fit on our scout. The width is good. Just the mount is a little bit different, but we want it to be able to carry a full size 37 inch spare. We're going to do it a little bit differently. A lot of the times when you see a spare tire mount in the back of a truck, it swings out to the side, we're gonna have ours drop down flat to the back just like

the tailgate.

Thanks

one more.

Oh, last band. Then we'll find out if it fits all the pressure.

Alright,

it's time we make a hinge.

All right now,

the bumper clears the tailgate. I've used this small Clevis mount on the bottom to act as a stop. So the spare tire carry doesn't swing all the way down and hit on the ground. The hinge is pretty simple. It's just a piece of inch and three quarter tubing with a piece of inch and 3/8 inside of it. Now, if you're gonna do this, remember to add some Zerk fittings or grease fitting, so you can constantly add grease to this hinge so it won't rust up. Now, what I'm gonna do right now is put the tire on,

test it

and then we'll measure it for an upper mount up here near the top just to make it a little bit more secure. So the weight isn't always just pivoting off that weld underneath

and if you build a bumper like this, you can make it bolt on or weld on. Now, we chose just to weld it on

just because it was a lot easier. If you have a situation where your body fits underneath the bumper, you want to make it bolt on. In our case, the body can come right off and back on.

So it's just easier to weld ours on.

It's spark on my glove. Spark on my glove.

Wow. Ok.

You're watching Xtreme 4x4 for a DVD copy of this episode. Just go to Power Block tv.com and order your copy for just 595 plus shipping and handling. Start your own Xtreme 4x4 collection delivered right to your door from the Power block.

Now, when we're planning a project like our Scout 800 here, we're kind of dancing a fine line. I mean, we wanted this truck to stay Classic Scout, but at the same time, we definitely need it to be an extreme off Roader. I mean, come on, this is Xtreme 4x4. We don't do day in the thirties anywhere in this room. But when you're dealing with a classic ride like this, you gotta think most of our trucks stand up on their side or on the roof and we didn't really want to do that with this truck. We wanted to keep it in good shape. And then we thought what kind of a guy is gonna go out there? Hit hard core trails and yet drive a classic scout. Then we realized we all go wheeling and there's that one guy, he's got all the tools, all the spare parts. I mean, you need a 3 32nd Allen Wrench and you find this guy. He's got it. He's got a U joint every time you need one. That's the kind of guy that would drive a scout. 800 A on the trail. Yeah, he's not gonna hit the hard core stuff, but he's gonna be there when you hit it in your buggy, be there to support you with everything you need. That's why we're gonna fill the back of our scout with a bunch of tools for that guy.

Now, we'll obviously throw a bunch of hand tools in the back of the truck, but anybody can carry those, you know, wrenches, sockets, even Allen keys. But what we want to have here is almost a rolling shop. So we're going to install a power tank, co two tank. It'll run our air B air lockers and allow us to air up our tires. But even better than that, we'll be able to run

air tools when we're out on the trail, something breaks, not a problem. We're going to have a fully functioning mig welder in the back of this truck. Now, this is a ready welder,

a small flux

core. Mig welder keeps a small spool of wire in the handle that feeds up through here. You adjust the voltage right at the trigger. It operates off 212 volt batteries and that is what will mount inside this rough stuff. Optima dual battery box and it will have one battery to power our truck and the secondary battery to use when we weld. Now, hooking up two batteries in a truck can be a little bit difficult. So we're going to use this CTC

dual battery isolator. It'll keep the main battery charged and when it's,

we charge it'll then use that battery to charge our second battery. Obviously, we'll carry a full recovery kit that we got from Master Pull and then parts and I mean, a lot of parts we'll carry you joints, one of every single size we'll even throw in some strap kits because you gotta have the strap kits. We're even gonna throw in a brake caliper that most guys use when they do rear disc brake conversions. And even more, if you can get it for this truck or any truck on the trail, we're gonna try and fit it in the back of this ride.

Now, when it comes to all of our parts, we're gonna have to come up with some unique storage ideas because we are dealing with limited space, but we're not gonna take care of that today. We made good headway on our scout. Next time we've got this rig back in the shop. We'll take you step by step through the process of wiring up a classic ride.
Show Full Transcript