


More Haulin S-10 Episodes

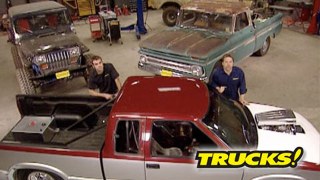

Trucks! Builds


Want more content like this?
Join the PowerNation Email NewsletterParts Used In This Episode
Aerospace Components
Front disc brake setup, drag race version, aluminum hubs, aluminum calipers, drilled and slotted rotors, hardware.
Aerospace Components
Rear disc for Ford 9 inch bearing for S&W fabbed housing.
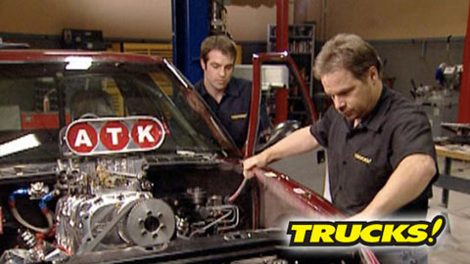
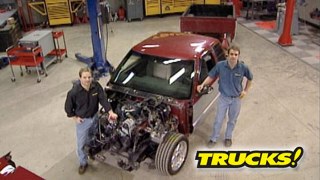
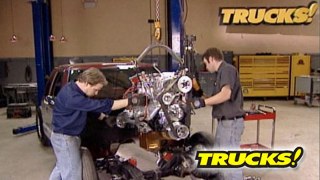
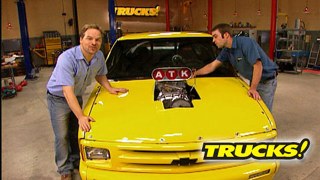
ATK Performance Engines
Engine block, prep work and final assembly.
ATK Performance Engines
Engine block, prep work and final assembly.
Auto Meter
Carbon fiber series, 5" tach, mounting cup, 5" speedometer, volt, oil water, boost, speedo sensor.
B&M Racing
Quarter stick, cover and mounting plate, line lock, push button switch, install kit.
Bowler Performance Transmissions
Turbo 400 and stall convertor.
Currie Enterprises
31 spline custom length axles.
Currie Enterprises
Detroit locker, 4.56 gears.
Denny's Driveshaft
2 PC with carrier bearing.
Flaming River
Column, under dash mount, floor mount.
Flex-a-lite Automotive Division
FLEX-A-FIT aluminum radiator, 4110 transmission cooler.
Flitz
FLITZ mini buff ball.
Grant
Steering wheel and quick release.
Holley
Billet fuel pump, relay, pressure safety switch 2 sets of filters.
Intercomp Racing
Intecomp racing scales and readout.
Lunati
-20 CC dish forged piston.
Lunati
3.480 stroke forged 4340.
Lunati
6.00 H-beam rod 4340.
Lunati
Solid roller cam and lifter kit.
Lunati
Valve springs, valve locks, push-rods, timing set.
Made For You Products
T-CLAMPS, various sizes, yellow in color.
Mickey Thompson
15 X 14 5X4.5/5X4.75 3.5 B.S.
E/T DRAG WHEELS
Mickey Thompson
28 X 4.5-15 E/T FRONT.
Mickey Thompson
31 X 16.50 -15 E/T STREET.
Mickey Thompson
Racing tube.
Moroso
Front motor plate, mid mount plate.
MSD Ignition
6 BTM ignition box.
MSD Ignition
Small diameter.
MSD Ignition
Universal cut to fit super conductor.
Optima
Yellow top battery.
Painless Performance
12 circuit race kit with 8 switch panel, fuel pump relay, fan relay, split braiding.
Prothane
Motor mounts SB Chevy V-8.
Royal Purple
5W30 XPR, MAX ATF, PURPLE ICE
S&W Race Cars
Bare axle housing.
S&W Race Cars
Four link tubes and hardware, welded rear frame section, wheel tubs.
S&W Race Cars
Ten point roll cage.
Summit Racing
15 gallon fuel with 0-90 OHM sending unit.
Summit Racing
Aluminum racing seats, covers, seat mounting brackets, five point harness with mounting brackets.
Taylor Cable Products
OPTIMA battery relocate with wires.
Weiand
6-71 BLOWER FROM HOLLEY POLISHED.


