


Engine Power Featured Projects


Engine Power Builds


Want more content like this?
Join the PowerNation Email NewsletterParts Used In This Episode

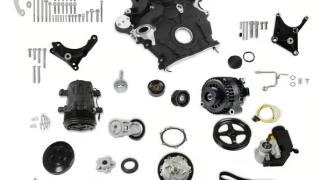
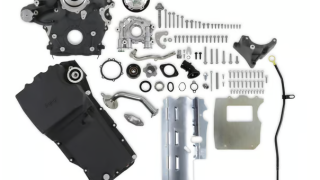
Holley
Holley Godzilla High-Mount Accessory Drive - With Holley Swap Oil Pan & Pump - Base Kit
Apocalypse Performance
2020+ Ford 7.3L Godzilla Billet Fuel Rails
Apocalypse Performance
725cc Ev14 HIgh Impedance Fuel Injectors
Apocalypse Performance
Stainless Works 20-21 Ford F-250/F-350 7.3L Headers