


Engine Power Featured Projects


Engine Power Builds


Want more content like this?
Join the PowerNation Email NewsletterParts Used In This Episode

Holley
Induction, Valve Covers, Oil Pan Swap Kit, Accessory Drive Components, Fuel Injection
ARP
ARP Balancer Bolt
ARP
ARP Digital Rod Bolt Stretch Gauge
ARP
ARP Fasteners
ARP
ARP Ultra Torque Lube
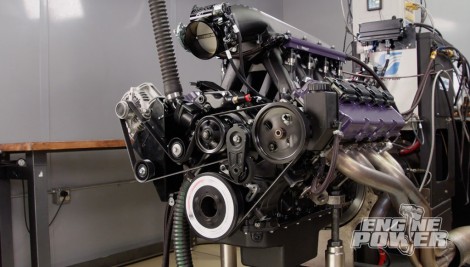
Arrington Performance
GEN III Hemi Block, Crankshaft, Hemi Heads, Rod & Piston Assembly
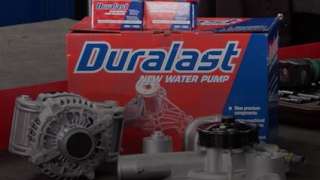
Duralast
Alternator
Goodson Shop Supplies
Intercomp Digital Valve Spring Compressor
Holley
Hi-Ram Intake Manifold
Holley
Mr. Gasket Aluminum Valve Covers
Holley
MSD Blaster Series Coil Packs
Holley
Power Steering Adaper Kit
Matco Tools
MATCO Tools are the Official Tool Supplier to Engine Power
The Industrial Depot
Tools, Hardware, Shop Supplies