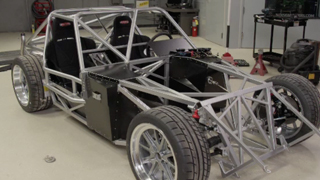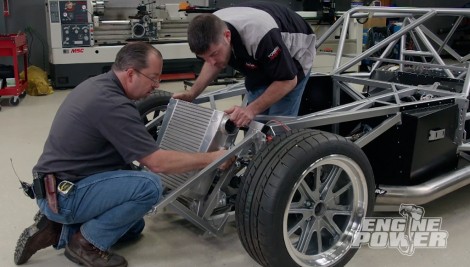
Custom Cooling, Custom Exhaust, The Test Sled Build is On!
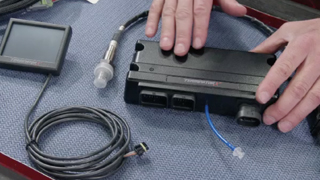
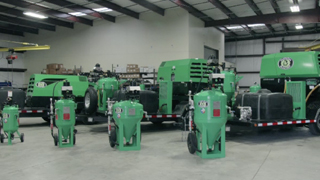
Our rolling dyno sled receives a fuel system, intercooler, and hand-built exhaust. Plus: take a visit inside Dustless Blasting's manufacturing facility.
Season 6
Episode 14
Hosts: Mike Galley, Pat Topolinski
First Air Date: July 14, 2019
Duration: 20 minutes 22 seconds