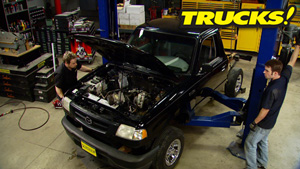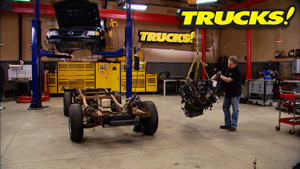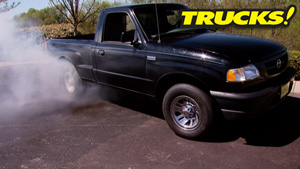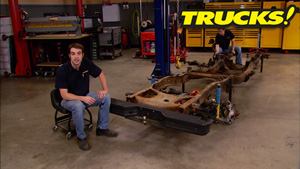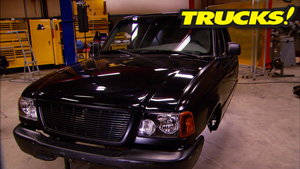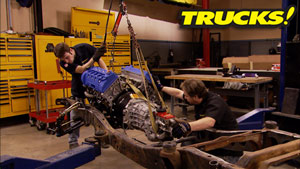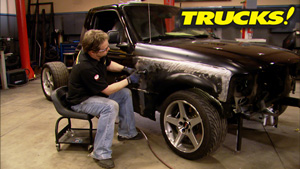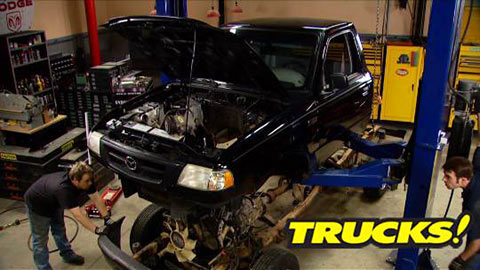
Rolling Thunder Part 1: Disassembly
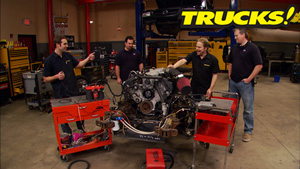
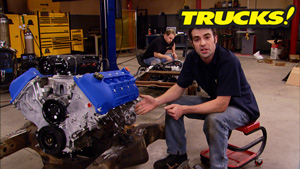
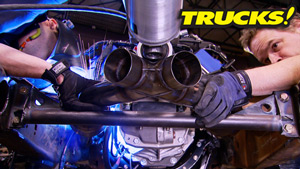
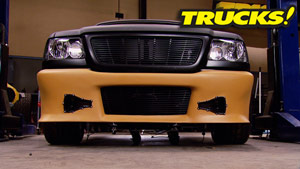
Today we're kicking off a brand new project to wedge a Ford dual overhead cam 4.6 liter V-8 into a 2001 'Ranger' based truck to build a smaller version of Ford's Lighting. Since "Mini Lightening" doesn't sound that tough, we're calling this Project - Rolling Thunder!
Season 12
Episode 2
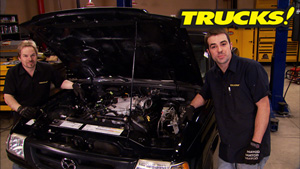
Hosts: Kevin Tetz, Ryan Shand
First Air Date: April 10, 2010
Duration: 18 minutes 6 seconds