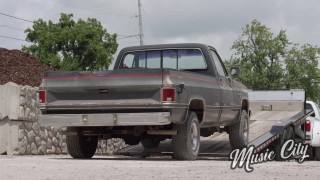
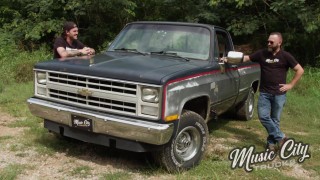
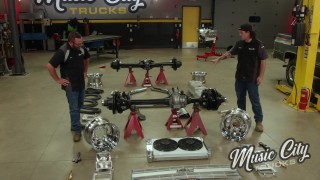
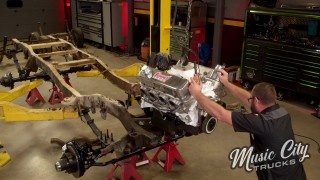
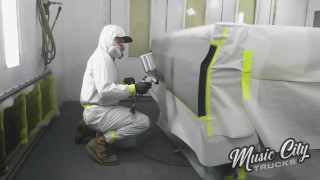
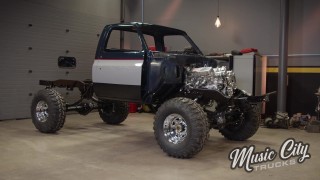
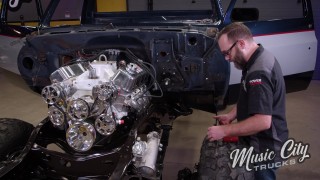
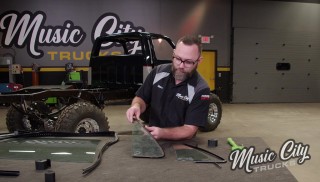
Faux Guy Square Body Shifts Into Gear With A New Transfer Case
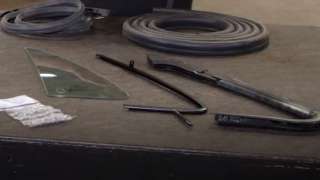
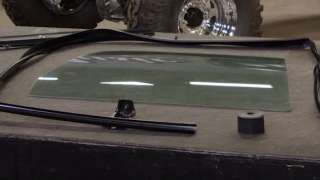
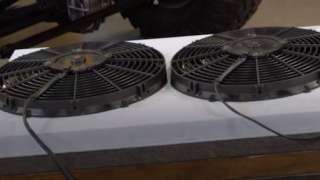
Our K-10 Square body is starting to come back to life. The cab, body panels and bed all get reassembled. We add cooling, electrical, resto parts and measure the driveshaft and finalize the transmission linkage. The end is in sight!
Season 3
Episode 5
Hosts: Marc Christ
First Air Date: May 1, 2023
Duration: 21 minutes 27 seconds