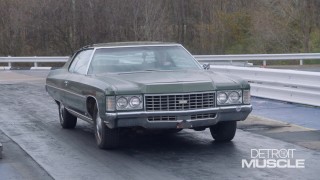
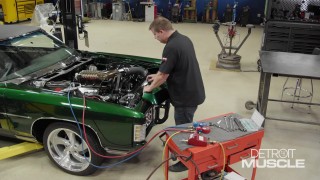
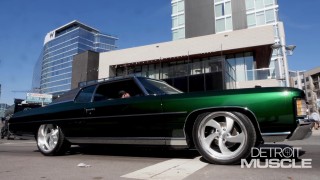
Tearing Down A 1971 Chevy Caprice - Fat Stack Part 1
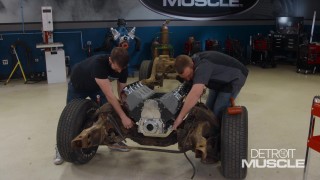
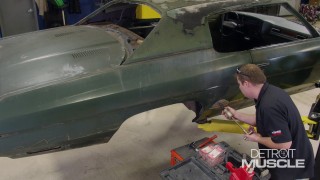
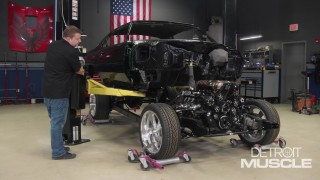
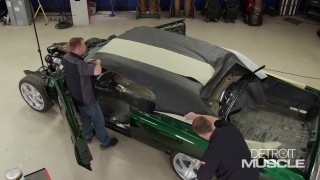
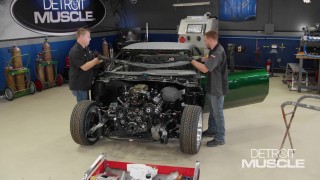
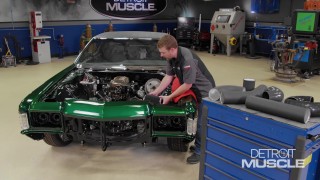
Tommy and Joel kick off a new project, a 1971 Chevy Caprice. They search through a big-body boneyard to find the inspiration to help separate this car from stereotypical b-body builds.
Season 10
Episode 1
Hosts: Tommy Boshers, Joel McMillan
First Air Date: February 20, 2023
Duration: 21 minutes 27 seconds