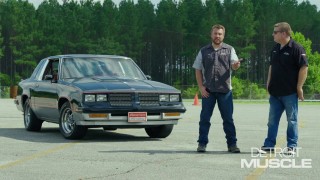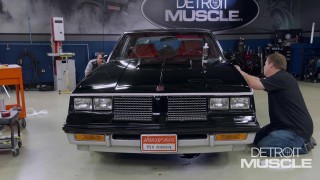
Worn Out Ride to Rejuvenated Retro Rocket: Hurst Olds Part 4
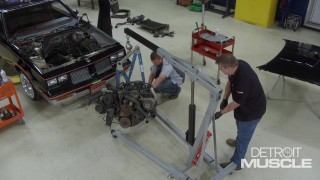
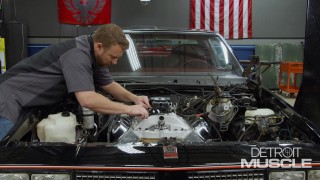
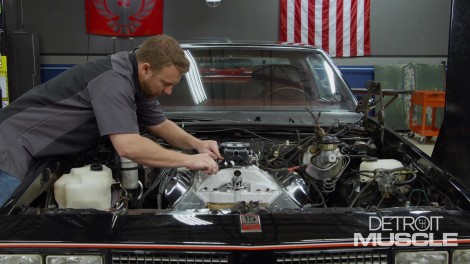
We wire up and cool off our legendary Mondello big-block Olds engine to take the Hurst's performance from worst to first. Plus we'll refresh the interior to jive with its 80s vibe.
Season 9
Episode 14
Hosts: Tommy Boshers, Joel McMillan
First Air Date: October 31, 2022
Duration: 21 minutes 30 seconds