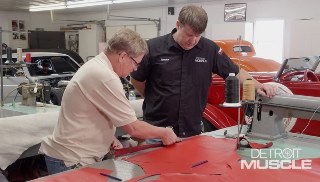
Modding a Mustang GT for an Aggressive Look
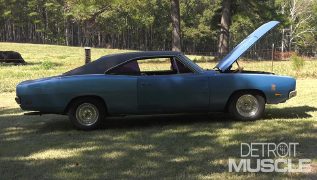
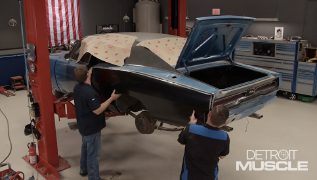
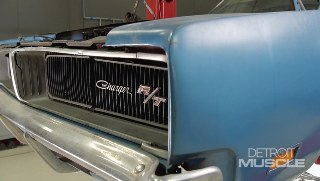
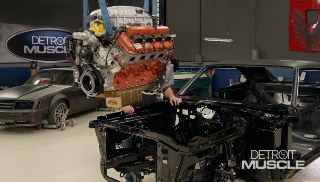
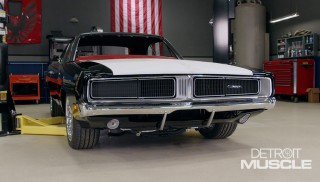
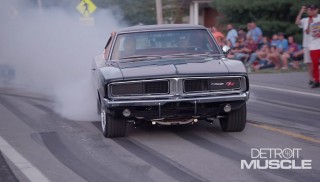
We add a body kit and a wrap to our EBC Brakes giveaway Mustang plus, Tommy and Marc bring back the Hellcat '69 Charger.
Season 6
Episode 12
Hosts: Tommy Boshers, Marc Christ
First Air Date: June 2, 2019
Duration: 20 minutes 23 seconds