


More Super Dually Episodes

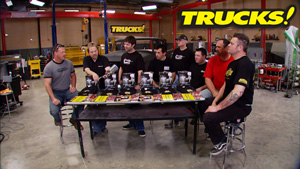
Trucks! Builds


Want more content like this?
Join the PowerNation Email NewsletterParts Used In This Episode
Blast-It-All
Media blaster equipment.
Certified Auto Recycling
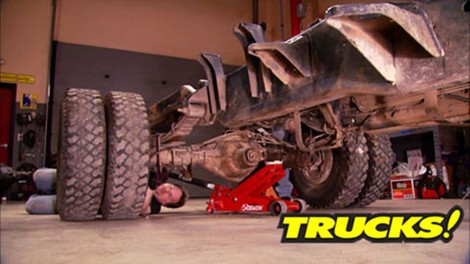
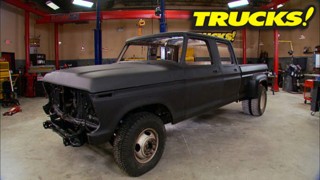
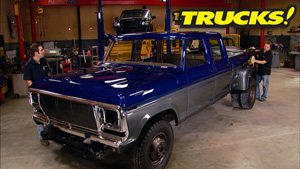
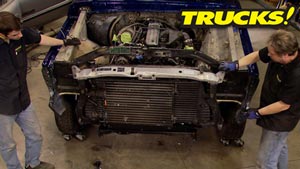
1997 Dodge 2500 extended cab long bed chassis 12V Cummins motor.Rear Dually axle,front brake rotors, dually wheels.
Gerald's Auto Body
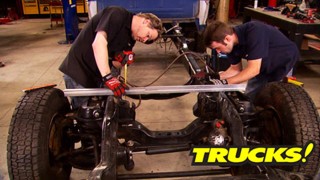
Frame alignment.
Kundel
Overhead crane system.
O'Reilly Auto Parts
Front Wheel Bearings and Grease Seals (Both Sides)
O'Reilly Auto Parts
Rear Wheel Bearings, Races and Seals
O'Reilly Auto Parts
Rear Brake Drums (2)
O'Reilly Auto Parts
Brake Shoes, Wheel Seal (2), Hardware Kit
O'Reilly Auto Parts
Spindle Lock Insert (rear)
O'Reilly Auto Parts
Wheel Cylinders (2)
Power Tool Box
Chicago Pneumatic QRS Series 5hp, 60 gallon, Rotary Screw Air Compressor with Refrigerated Dryer, Chicago Pneumatic RCP Series 2hp, 20 gallon Portable Air Compressor.


