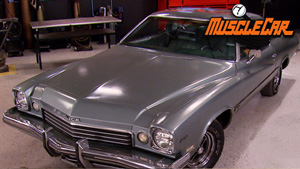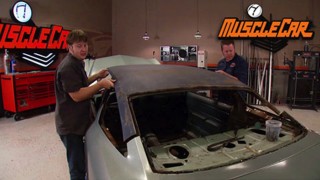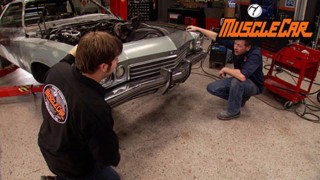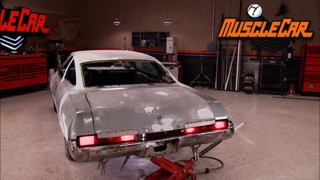
More '73 Buick Century "Blue Collar Buick" Episodes

MuscleCar Builds

Parts Used In This Episode

Crane Cams
Custom Grind Hydraulic Camshaft
Crane Cams
Gold Race Extruded Rocker Arms
Crane Cams
Hydraulic Lifter Set
Crane Cams
Pro-Series Pushrod Set
Edelbrock
Cylinder Head and Top End Gasket Set
Edelbrock
Head Bolt Kit
Edelbrock
Performer Intake Manifold
Edelbrock
Performer RPM Cylinder Heads
Edelbrock
Thunder Series AVS 800cfm Carburetor
Hooker Headers
Super Competition Headers
Loctite
High Temperature PST Thread Sealant
MSD Ignition
8.5mm Super Conductor Spark Plug Wire Set
Summit Racing
GM HEI Ignition Tune-Up Kit
Summit Racing
Street & Strip Aluminum Race Radiator
TCI Automotive
700R4 Super StreetFighter Transmission
TCI Automotive
Breakaway Torque Converter

Video Transcript

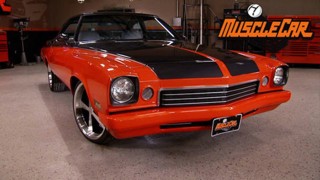
Today on muscle car blue collar Buick is back for some performance upgrades. Rick swaps out the turbo 350 for a 700 R overdrive trans and Tommy shows how to measure for custom push rods plus, take a look under the hood of an ultra rare Ram Air.

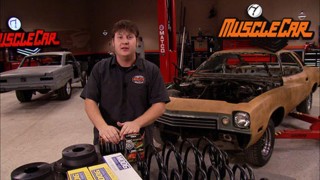
Hey guys, welcome to muscle car. Blue collar buick here has been a huge success and we've taken a big barn beast and turn it into a cool cruiser slash daily driver and we did it all for under 10 grand and most of you guys really seem to dig it, but we also caught a lot of flak from some buick fans. The buzz of V8

dot com says we're not doing justice to the 455. So we're gonna take that as a challenge and turn a blue collar from a cruiser to a bruiser with a hotter cam better heads and intake, bigger carburetor and headers. We're expecting the 35 to 40% increase in horsepower. But before we do anything, we need to get a baseline.

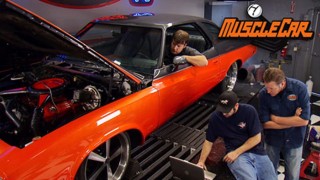
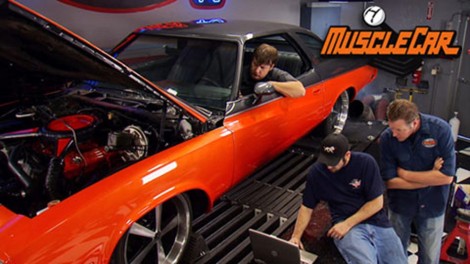
So we're making the long trip down the hall to the horsepower shop and strapping blue collar down to the chassis

dyno to see what we've got.

We know there's hidden power and tuning, but since upgrades are on their way, we're going to hold off until the new parts are installed.

100 and 94 horsepower, 271 ft pounds of torque.

I think there's a room for some improvement though. There's a lot of room.

Well, you can see the, the curves, the horsepower and torque curves. We just never tuned it

right. Built it bolted it on and ran it. We haven't touched it.

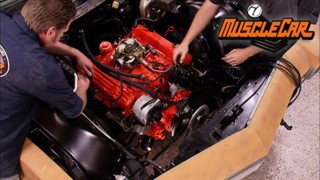
You know, I'll be honest with you. It hurts just a little bit tearing apart this engine that was running so well, but a lot of these parts are gonna be reused and in the end it'll definitely be worth the pain.

Well, it looks like a buick is running pretty good,

nice and white and clean.

It's gonna be even better

if

I wonder why Buick made that hole on top of that manifold boat

to save weight.

That's the only thing I can guess

unless it's in the manufacturing process of some sort of

stamping it out.

It was during the war. They were trying to conserve steel,

smell fertilizer.

I'd like to know. Uh,

now we know that you really wouldn't use a cherry picker to pull an intake. But we're trying to make a point here. You got it.

These suckers are heavy.

Ok. Whose idea was it to use

a tree breaker? Ok, you got it.

Yeah, I got you. Ok.

Ok.

Come back,

come

back.

You're looking at 80 pounds of cast iron here. Thanks

Bu

morning and happy Miss.

That's good to see it off.

Holy dirt.

Uh When we originally built this engine, we had a pretty strict budget in mind. So we use a cam shaft that would give us a few extra ponies but didn't require us to upgrade any of the valve train. This new one from crane cams has more lift and duration. So it's gonna give us more power and torque as well as a broader power band. Plus the

idle is gonna be far from stock.

Sure. We could have gone with an even hotter cam, but that requires bigger heads, more compression, a higher stall and shorter gears. But all of these affect drivability and we want to keep blue collar street friendly

after setting the number one cylinder to top dead center, the old timing set and cover can go back on.

Sometimes headers need to be set in place along with the engine. Since we didn't pull the engine, we need to make sure they're going to fit once the heads are on,

step one is getting the stock manifolds out of the way.

Oh yeah, dude, this drop right in.

We put them in now though. It's gonna be harder to do the transmission.

Yeah, let's just leave them off and finish the top in.

Yeah, let's keep the heads on

after the break. Custom push rides. Got you confused. We'll take the mystery out of measuring and later a one of 54 old.

Now these old buick heads, well, they're not just heavy. These are the lowest compression, least desirable heads. The buick has ever built. So, swapping them out

as a no brainer. The Edelbrock heads where they're half the weight, plus they have bigger valves, smaller combustion chambers and a better designed rocker arm assembly. And that makes for a whole lot more power and better reliability.

We've already installed the gaskets that came in our Edelbrock gasket set. So the heads are ready to go on

some lock tight thread sealant will not only keep the bolts in place, it'll lubricate the threads for more accurate torque reading.

After running them down with an impact, we'll torque them to spec in three or four stages, then drop the lifters in

the stock push rods won't work with these heads. Edelbrock tells us the required length using these heads with an un decked block. But if your blocks been decked or your heads have been milled, it's gonna require measuring for some custom push rod.

Push rods move the rocker back and forth over the valve tip. If the push rod is too long, it will push the roller off the outer edge, too short and it will slip off the inside edge. The idea is for the rocker to stay in the center 80% of the valve tip surface.

The most accurate way to gauge what length you need is with a push rod measuring tool. There's a couple of different types, but the one that I like to use comes in a calibrated length and doesn't require any other tools.

Make sure the lifter is at base or the lowest point, drop the tool into the lifter, making sure it's seated and place a rocker on the stud,

adjust the tool by twisting the two halves apart until the roller is at the correct point on the inner edge of the valve stamp, put on a rocker nut and tighten to zero lash. Then turn an additional three quarter turn for lifter preload, turn the crank until the lifter is at its highest point and check for roller placement on the outer edge of the valve stem. If it's not right, repeat the process until the lowest and highest points are correct, then simply remove the push ride and count how many turns you made.

The preset length of this tool is 8.8 inches and each full turn adds 50,000. We twisted it 17 turns making our total length. 9.6 50.

This matches what Edelbrock told us. We should order for our unmodified block and heads.

We ordered a set from crane along with the cam and rockers so we can go ahead and install them.

The rockers go on just like we showed you earlier. Making sure, each lifter is at base tightening the rocker nut to zero lash. Then going another three quarters turn

performer intakes, boost torque and give quicker throttle response. Plus they're 50 pounds lighter than stock and with their gaskets, no valley pan is required with aluminum parts. It's important to use

any s

on the bolts to prevent stripping and use the recommended torque sequence.

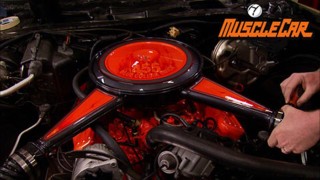
And Edelbrock 800 CFN car will run the smoothest factory and help boost horsepower.

There's nothing wrong with the stock water pump, al

and fans. So all these parts are going back on as is while I finish all this stuff up. Rick's gonna get our ignition upgrades ready to install.

Our 455 is building more power and turning higher RPM. S and we wanna make sure that the ignition is up to the task because if you're not getting the spark to the cylinders, then all these upgrades aren't gonna do you a bit of good. Now, we already have an electronic ignition but we can improve on it with some of its he I

great kit. It includes a hotter coil for a stronger spark and the cap itself is higher quality with a better casting and contacts for a longer life.

The module is more precise to handle those higher RPM. S

and the kit comes with different weights and springs so you can adjust the timing curve and to make sure that that hotter spark gets to the plugs. You need a better set of wires, MS D's universal 8.5 set. Well, these will handle anything that we're gonna throw at them.

Be sure the motor is at top dead center and drop the distributor in with the rotor in the correct position

with the motor buttoned up. We can install our aluminum radiator from summit racing

up next. This 442 has something special under the hood and later, a problem solving. Cross member mod

today's flashback. A 1966 olds 442 W 30.

There's a lot of people that see the car at a show or see it on the street and think it's just a

plain vanilla 442. They don't really know what lurks underneath the hood. That's called John 66 442 is equipped with the ultra rare Ram Air package known as the W 30 only 54 got the factory race set up that year and this is number 10. Your only clues from the outside are the scoops inside the front bumper and looking like some crazy.

A two headed shot back. The scoop fed air through tubes directly into the air cleaner.

The battery had to be moved to the trunk because the tubes got in the way

as if that wasn't wild enough. It's also outfitted with a one year only tr

carb system called the L 69

utilizing a progressive mechanical linkage. It eliminated the lag time of the altitude carbs opening, which was common with the vacuum assisted setups found on the GT,

the powerhouse of the W 30 was a specially tuned 400 cubic inch V8 with a hotter cam and high tension battle spring.

In order to keep exhaust heat out of the car,

there was a heat riser shut off valve in the intake.

The engine was blueprinted on the bottom with looser ton

because it was designed for drag racing

rated at 360 horsepower. Truth was probably north of 400

but it was isn't just built for straight line go box, lower control arms, front and rear stabilizer bars and stepper springs gave 44 twos a reputation as one of the best handling muscle cars ever. The rest of the car is bare bones built on the low level F 85 body style.

It's got dogfish hubcaps and bench seats

to save on weight. There's no heater or radio.

The only option is the rocket rally pack gauges which were now round instead of horizontal.

The mandatory hurst four speed pulled a set of 4, 11 gears

and an all rolled on skinny 7.5 by 14 red lines.

The 66 models look pretty much like the 65 except they got hump, rear quarters

and fender vans behind the front tires.

44 twos had a unique mesh grill and tail light treatment

introduced in 64 to compete with the GTO, the numbers originally meant four barrel four on the floor and two exhaust pipes.

But that kept changing as they added automatics and multi

carb setups

with the Tr

carb, they should have called this one, the 642. The W 30 option wasn't advertised in 66. It wasn't even in the old brochure so most folks,

they

don't know it was offered that year.

It was mainly targeted at races as part of a win on Sunday. Sell on Monday strategy.

Well, it worked. The Rainbow Olds took the Sea Stock title in 66 and the old sold almost 22,004, 4 twos that year in 67 the W 30 set up got the attention it deserved and soon took on legendary status.

John doesn't care how rare the car is. He still likes to run it hard making 12 2nd quarters in stock condition with performance like that. You wish this was your father. Those movies

coming up, a slush box swap out that will stand up to our engine upgrades.

You're watching muscle car for a DVD copy of this episode. Just go to Power Block tv.com and order your copy for just 595 plus shipping and handling. Start your own muscle car collection delivered right to your door from the power block.

Hey guys, welcome back. When we first put the drive train in this thing, we kept the original Turbo 350 just to keep costs down,

but I've got my doubts whether or not this 35 year old transmission here is gonna hold up to all the extra power we're gonna be getting out of this 455.

So as long as we got to freshen something up, we might as well upgrade

the 700 R four has a shorter first gear and an overdrive. So that means you can run a shorter rear gear for the stoplight battles but still have the high speed cruising capabilities of the overdrive. A TCI Super street fighter transmission is one step away from a full on competition unit. All the internals have been upgraded to handle up to 600 horse. So that means we don't have to worry about twisting the guts out of that dude.

When you're upgrading your drive train, make sure the converter is matched to your rear end gears and your engine specs are too low of a stall and your motor could die at idle, too high of a stall and it'll rev right past its power band before your car even starts to move. Now, if you're not sure which one to get, call your supplier, they'll hook you up with the right one. All right guys, I know we've gone over this before, but it's important and it bears repeating when you put a converter on, make sure that you get it lined up with both sets of spines

and the two tabs on the front of your pump are lined up with the two slots in the converter. If you don't get all of that lined up,

then when you cinch it up against your engine, it'll put pressure on the front pump and crack it.

So it should drop in twice. There's one

and there's two.

Once it's all the way in,

then you're good to go.

Once the housing is bolted up, connect the coolant lines and TV, cable, not to be confused with a kick down cable. The TV cable controls the internal fluid pressure and must be adjusted correctly.

And when you're switching from a turbo 350 to a 700 you're gonna run into a few snags. But buddy, that's just part of hot rod.

One of the problems is that a 700 is a few inches longer than a 350.

It's not that big of a deal. This one in particular though the mount was a little bit lower than the factory 350.

So what I'm doing is sliding the cross member back. I'm gonna extend a plate out forward to bolt it into.

This is a pretty basic piece, but a template will still help with. The design.

Eight inch plate is plenty strong enough for this task and can be easily cut with a band soft or a plasma cutter.

I'll tack it in place in the car, then remove the whole cross member to finish welding

while Rick's finishing his piece, I'll shorten the exhaust to make room for the header

line that up.

It should drop right in

easy as pie. Now, obviously, we're gonna have to shorten up the drive shaft also,

but we'll do that when we do the rear end. So for now it's on to the headers.

This engine is gonna be pumping out a lot more air than it did from the factory and those stock manifolds well, are just gonna choke it down a lot like breathing through a straw. These hooker super comp long tube headers from summit racing.

They're gonna give us the air flow it needs,

they have thicker flanges for a better seal and heavier tubing gives longer life and controls heat.

Well, guys, we took some big steps today in turning our big block buick into a real street pounder by upgrading the entire top end

header transmission and a whole lot more. Do you have any questions about anything we use today? You can check it out at power block tv.com to handle all that extra power. You could really use a beefed up rear axle and some better brakes and then we can throw it on the dyno

and see how bad our buick can really be. But we're all out of time for this week. So until next week, y'all keep it between the ditches.
Show Full Transcript