How To Plan Your Engine Build: To Make Power, You Need to Have a Plan
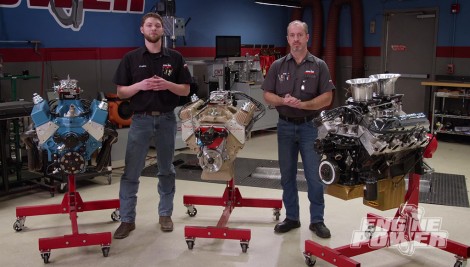
If you want to make power, you need to have a plan! Today, we’ll cover the engine requirements and parts selection needed to get the horsepower number you desire.
Season 10
Episode 4
Hosts: Pat Topolinski, Frankie Forman
First Air Date: March 20, 2023
Duration: 21 minutes 27 seconds