Race Engine Tuning & Tech
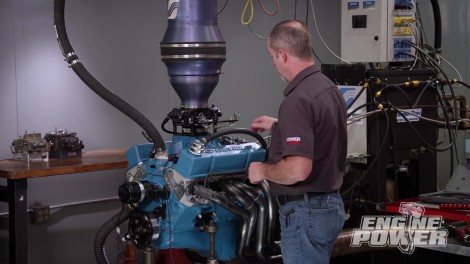
Race engines demand more attention than your daily driver. We’ll show you performance and maintenance tips to keep any high performance powerplant running strong.
Season 10
Episode 2
Hosts: Pat Topolinski, Frankie Forman
First Air Date: February 6, 2023
Duration: 21 minutes 27 seconds