Tired Supercharged Coyote Mustang Interior Gets an Overhaul
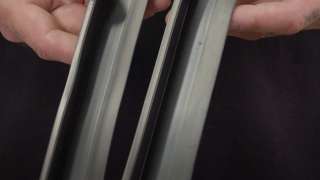
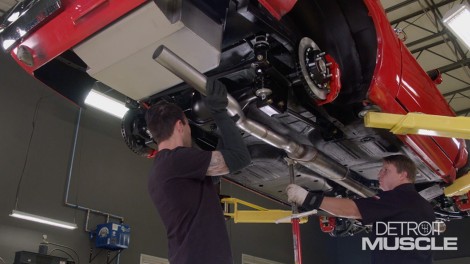
The Detroit Muscle crew creates a custom exhaust with some TIG Tech, and they lay out a new living room for our EBC Supercharged Coyote Mustang.
Season 8
Episode 16
Hosts: Tommy Boshers, Daniel Boshears, Josh Mason
First Air Date: October 9, 2021
Duration: 21 minutes 35 seconds