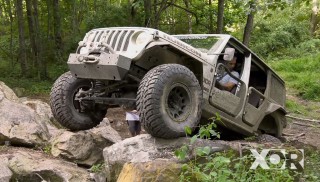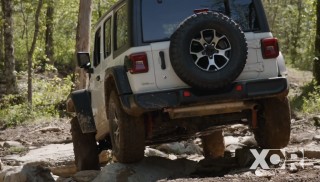
JL Rubicon: Tires and Under Armor
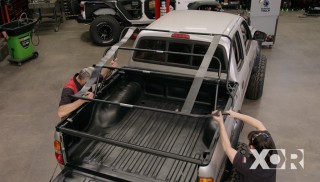
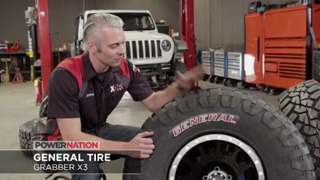
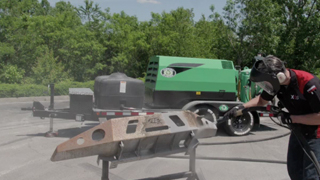
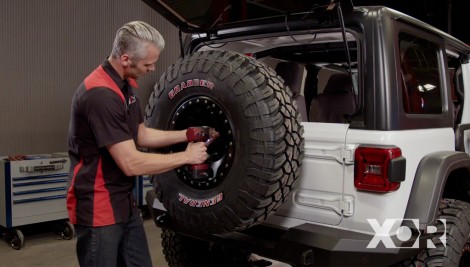
Our Jeep Wrangler Unlimited Rubicon gets brand new tires and some much needed under armor. Plus, our 2001 Tacoma gets a spray-on bed liner.
Season 6
Episode 13
Hosts: Eliza Leon, Jeremy Weckman
First Air Date: June 30, 2019
Duration: 20 minutes 22 seconds