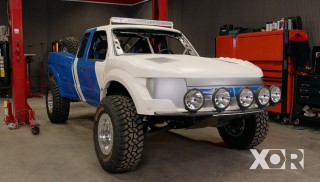
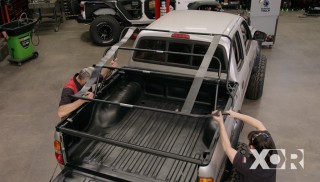
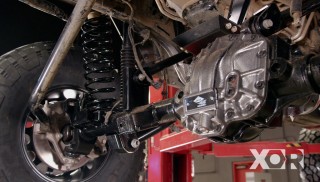
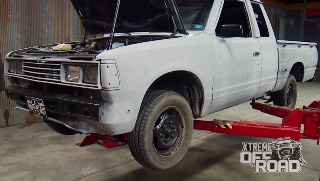
Prerunner Ranger Suspension Mods and Fiberglass Panels
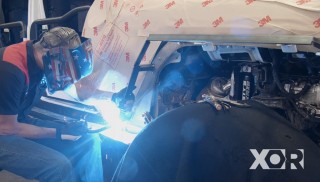
Jeremy and Eliza finish up mounting the adjustable shocks add the Raptor-like fiberglass skin to the Prerunner Ranger.
Season 6
Episode 5
Hosts: Eliza Leon, Jeremy Weckman
First Air Date: February 17, 2019
Duration: 20 minutes 22 seconds