This Horse Has Horsepower
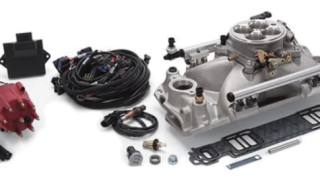
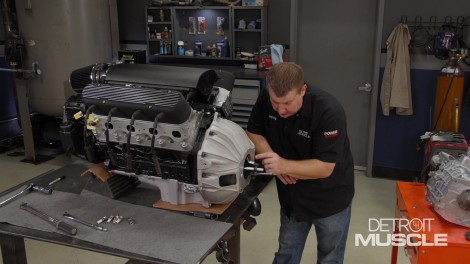
It's time to triple the horsepower in our 1990 Mustang! Project Fast Lane Fox Body is getting a new heart, as Tommy and Peyton make final adjustments to their pony car's new Windsor motor. Plus we’ll show you how to install a new fuel injector pump with a pro from Edelbrock.
Season 11
Episode 6
Hosts: Tommy Boshers, Peyton Pittman
First Air Date: June 24, 2024
Duration: 21 minutes 27 seconds