A Pair of New Horseshoes
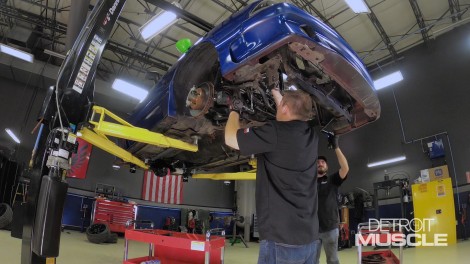
Tommy and Peyton get to work on their 1990 Mustang. They install a new front and rear suspension in Project Fast Lane Fox Body to handle its new engine.
Season 11
Episode 5
Hosts: Tommy Boshers, Peyton Pittman
First Air Date: June 17, 2024
Duration: 21 minutes 27 seconds