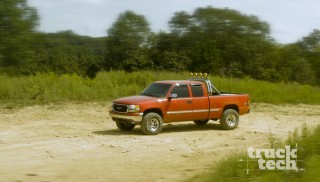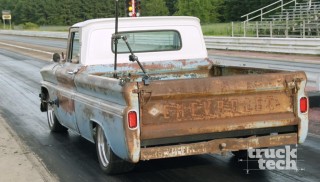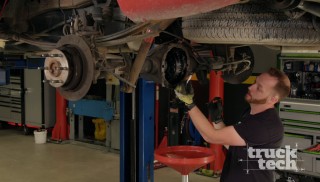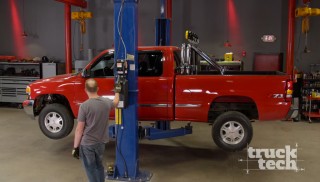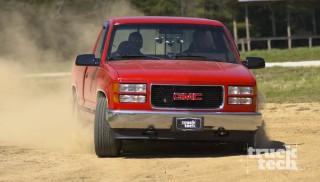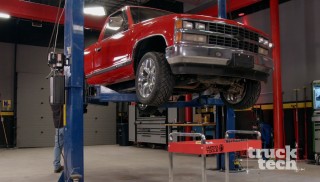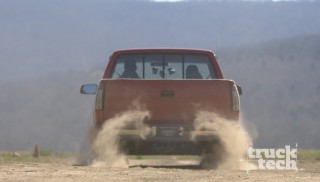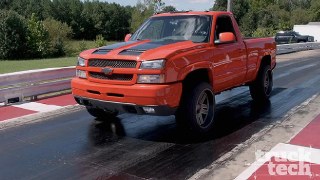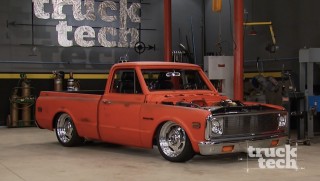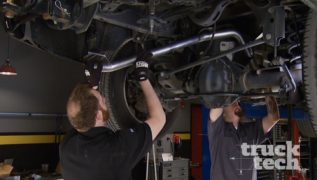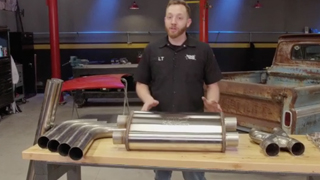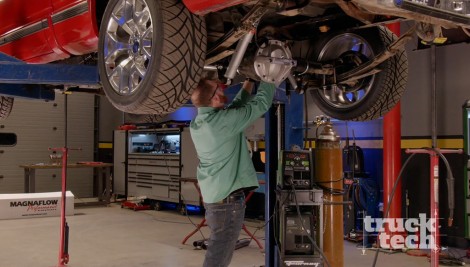
Building a Custom K1500 Exhaust
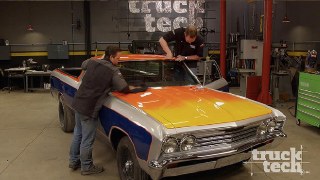
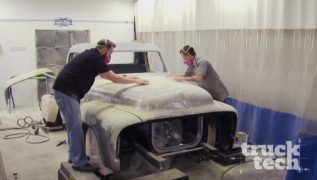
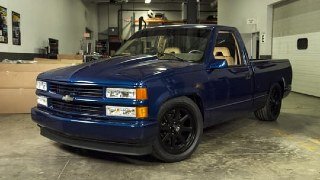
LT shows how to build a custom exhaust, and Austin brings new life to a dull paint finish.
Season 6
Episode 9
Hosts: Lawrence "LT" Tolman, Austin Lefort
First Air Date: April 28, 2019
Duration: 20 minutes 23 seconds