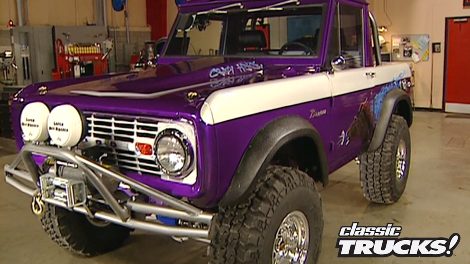
Crazy Horse Re-Cap
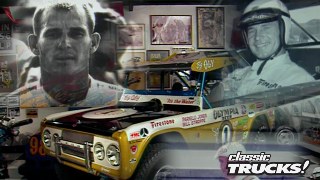
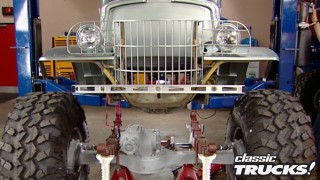
We look back at how we revived a down-and-out 1966 Ford Bronco, named Crazy Horse, by completely transforming it into a tribute to the legendary Big Oly Bronco, inspired by esteemed racer Parnelli Jones.
Season 6
Episode 6
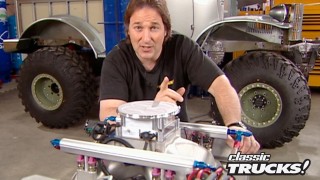
Hosts: Stacey David
First Air Date: June 1, 2015
Duration: 18 minutes 23 seconds